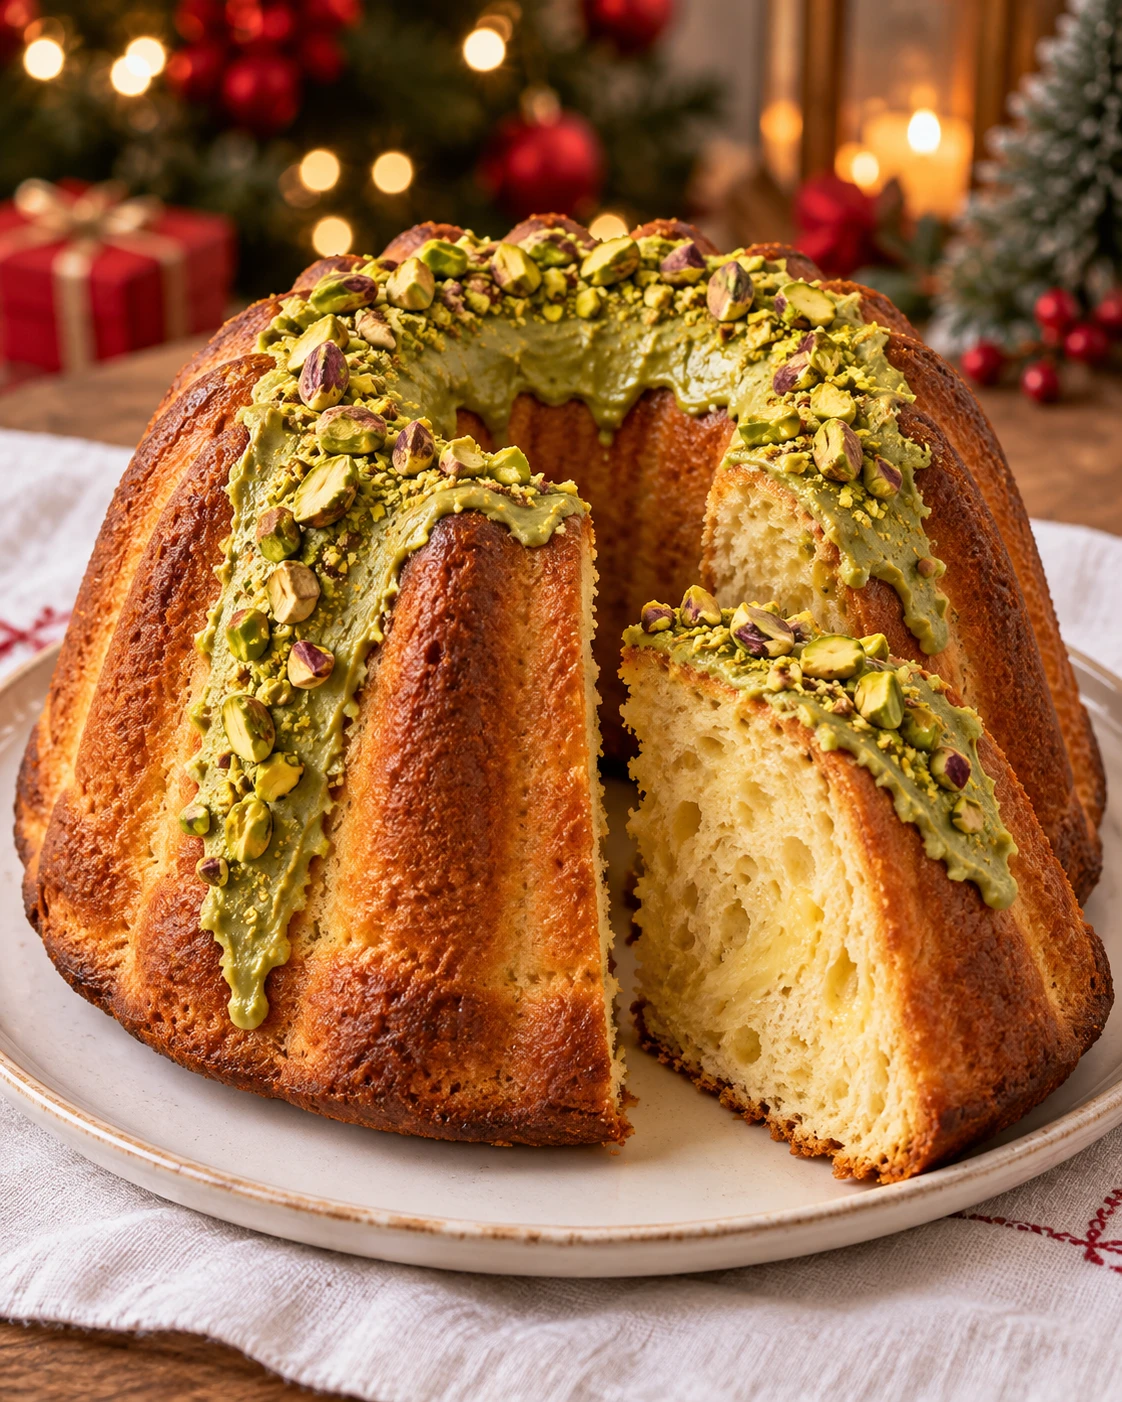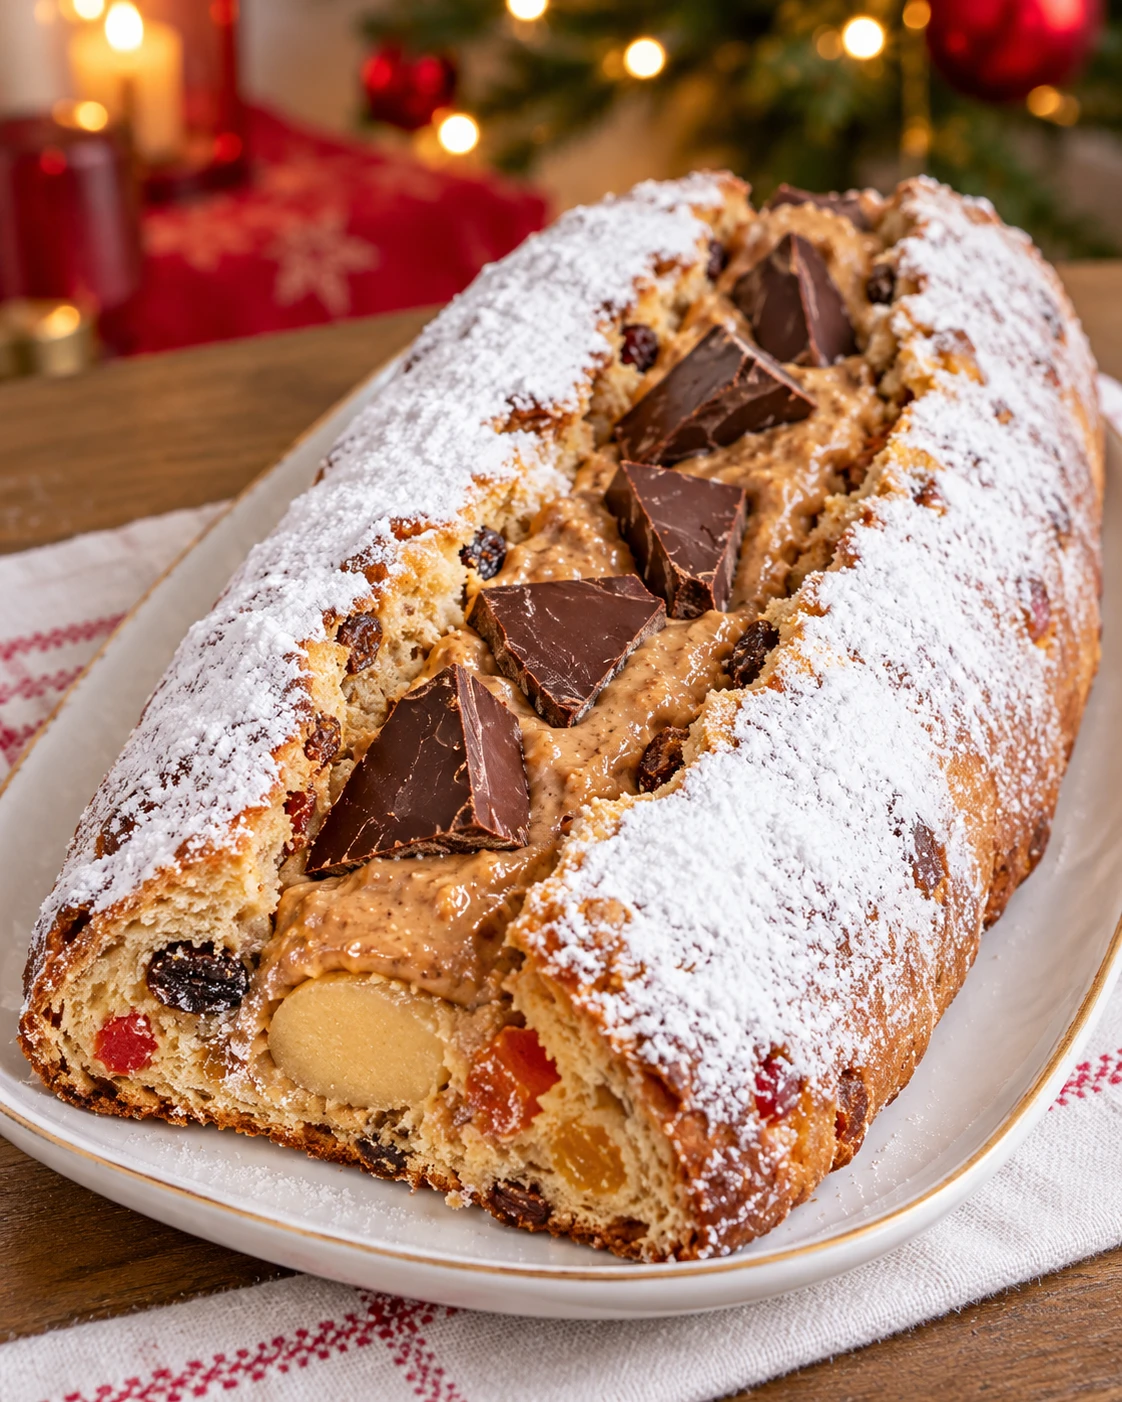
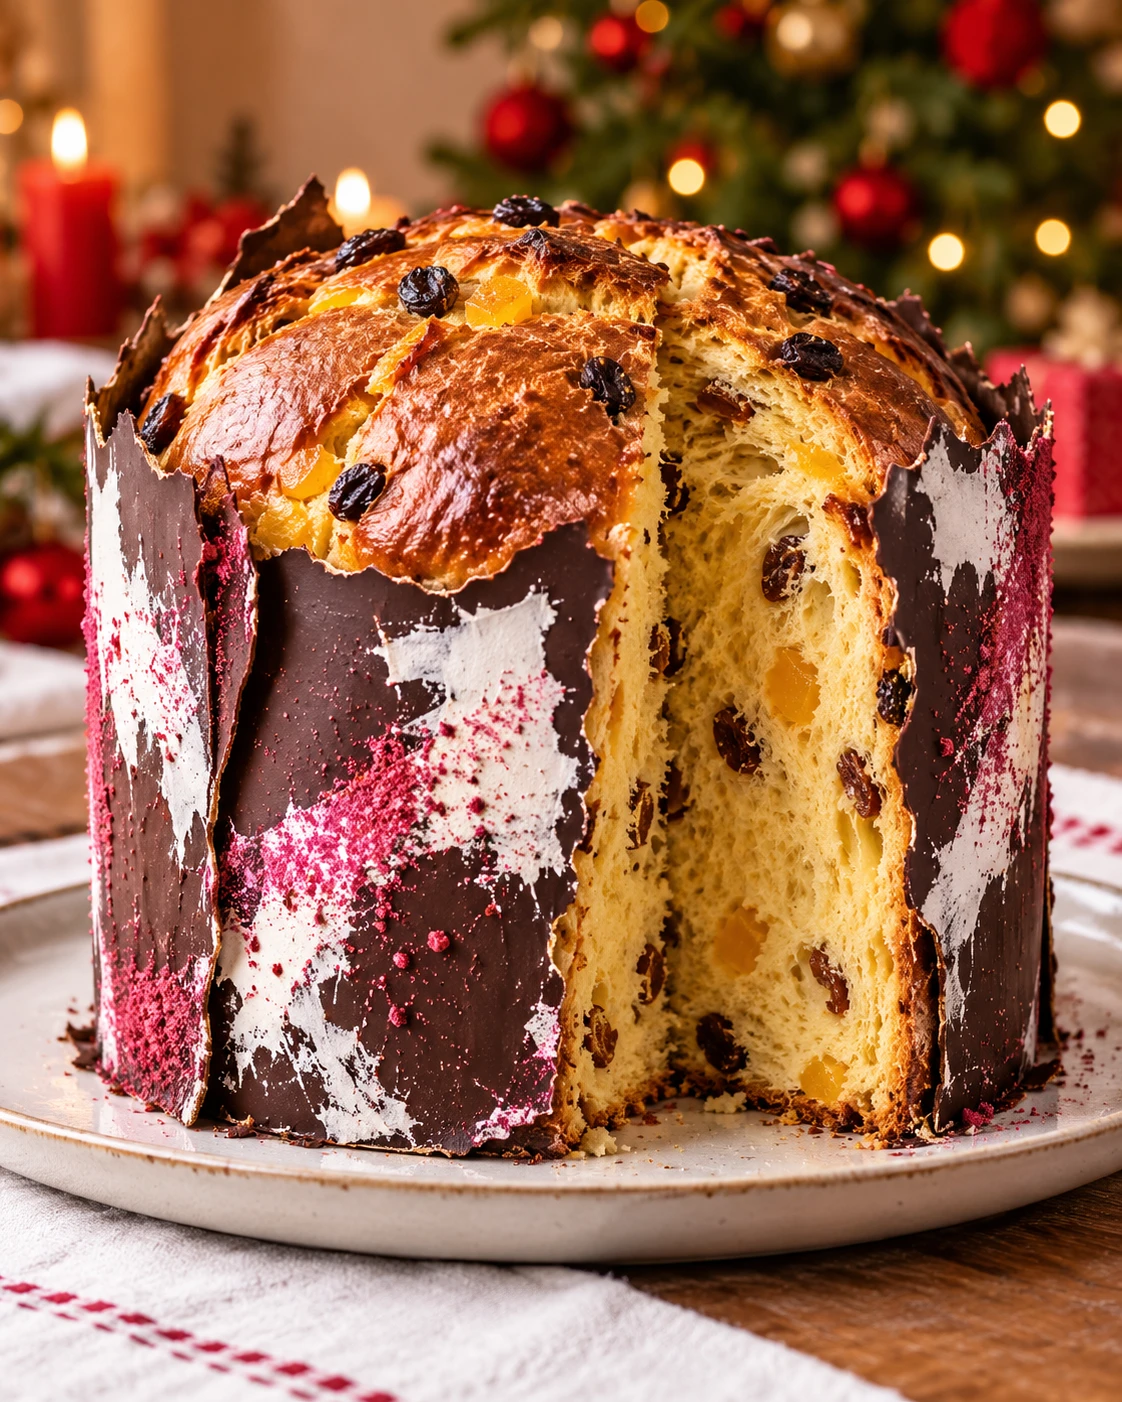
Torn-Poster Panettone
Brioche / orange / chocolate
Break an edible poster before cutting.
Kitchen Mode and Timer
Keep the recipe at hand during preparation.
Enables JavaScript to use the kitchen tools.
Visual Timer: Keeps this page open. It does not sound an alarm. The cooking remains to be monitored.
That's all you need!
Equip me with a pack.If you miss something, choose your ingredients from Monoprix and your utensils on Amazon. Adjust the quantities to your guests, then uncheck what you already have.
Choose the number of guests and uncheck what you already have at home.
This sheet indicates a yield in parts or in weight. Specify your basis for calculating the races.
Your selection contains only the checked items. Check products and availability at Monoprix for ingredients, on Amazon for utensils.
Amazon Affiliate Links. As an Amazon Associate, I earn from qualifying purchases.
Your choices are memorized on this device.
It's up to you.
17 detailed steps from preparation to service.
Prepare butter, fruit and moulds
Take out the 140 g of butter for the dough and cut them into small cubes so that they soften; keep the 10 g planned for the top in a small bowl apart. Cut the 100 g of candied orange peels into dice and detach the 120 g of raisins. Place the 1.5 kg paper mold on a baking sheet, so that it can be moved without deforming it when filled.
Take the zest and break the eggs
Wash and dry the untreated orange, then graze only the orange part of its skin with a fine grater; stop before the bitter white part. Break the 3 medium eggs one by one in a bowl and beat them with a fork. Measure the 150 ml of milk and heat it around 30 °C, without boiling.
Combine flour, yeast and liquids
Pour 450 g of force flour or T45 into the vat of the robot with the hook. Spread the 8 g of dry yeast, the 100 g of sugar and the 5 g of salt in the flour, then add the beaten eggs and warm milk. If the yeast leaflet requires rehydration, use some of this measured milk; do not add any more.
Knead the first dough for ten minutes
Rotate the robot at a slow speed for 10 minutes. Stop it if necessary to bring the flour from the walls to the center with a spatula, then resume. The dough must begin to stretch and gather; it will remain sticky and rich in eggs, which does not justify adding flour.
Gradually add 140 g of butter
Add about a third of the soft butter, then knead until incorporated before pouring the next third. Continue this process and knead for another 10 to 15 minutes after the first addition. The paste should become satiny and elastic; a small stretch between the fingers should lie down before tearing, rather than breaking immediately.
Add fruit and fragrances
Pour the 120 g of raisins, the 100 g of candied orange, the zest taken and the teaspoon of vanilla into the vat. Mix for 1 to 2 minutes at low speed, just to distribute the pieces. Scrape the bottom with the spatula to check that no fruit pouch sticks to it.
Let double the volume
Gather the dough in a bowl, cover it and let it rise for about 2 hours in a room around 24 °C. Observe the volume: it should approximately double, which can take longer if the kitchen is fresh. Avoids direct heat; a butter-rich paste takes time to develop.
Form a ball and put it in the mold
Gently press the dough to bring out the big bubbles, then fold its edges towards the center with a spatula. Turn it over to place the folds underneath and get a rounded top. Place it in the center of the paper mold placed on its baking tray; do not grease and do not remove this mold, which supports the brioche during lifting and cooking.
Leave for the second rise
Cover the mold very slightly and lets rise 1 hour 30 minutes to 2 hours, until the dough arrives about 2 cm under the edge. Remove the cover if it is likely to touch the dome. Towards the end of the rise, preheat the oven to 170 °C, conventional oven setting (no fan), with an oven rack in the bottom third to leave room for the panettone.
Cut the top and add the reserved butter
With a small sharp knife, delicately traces two superficial incisions that intersect at the center of the dome. Do not saw deeply and do not press the raised dough. Place the 10 g of butter reserved for the intersection, then bake the baking tray without shaking the mold.
Cook and control the temperature at the heart
Leave to cook 45 to 55 minutes. After 25 minutes, if the top is already very colorful, cover it with a sheet of baking paper held by the edge of the mold and away from the heating elements. From 45 minutes, insert a probe into the center of the crumb: aim at about 93 °C and check that no raw paste sticks to the tip; extend for a few minutes if necessary.
Cool in the mold before any decor
Take out the panettone with its plate and place it on a wire rack keeping the paper mold. Let it cool for at least 2 hours, and more if the heart stays warm: chocolate laid too early would melt or slip. This yeast version has a brioche; wait for complete cooling before removing the paper from the sides and going to the assembly.
Distribute the chocolates before you start
Weigh the 120 g of dark chocolate in two portions: 90 g for the three posters and 30 g to fix them to the cake. Keep the 50 g of white chocolate and 10 g of freeze-dried raspberry powder aside. Draw three rectangles of 10 x 8 cm on baking paper, then flip the sheet on a baking tray to work on the side without pencil.
Casting the three black posters
Chop the 90 g of dark chocolate with a knife and put them in a perfectly dry bowl. Pour 2 cm of water into a small saucepan, heat to a gentle simmer and then lower the heat. Set the bowl over the pan without touching the water and stir with a spatula. Remove while a few small pieces remain and stir off the heat until melted. Wipe the bottom of the bowl and do not pour any water into the chocolate. Spread the melted chocolate between the three rectangles, then spread each portion on the back of a spoon about 3 mm thick. Keep edges a little irregular but wide enough to peel them off; the plates will remain flat, they do not have to fit perfectly the curve of the cake.
Add the large white lines and raspberry
Chop the 50 g of white chocolate with the knife and put them in a perfectly dry bowl. Pour 2 cm of water into a small saucepan, heat to a gentle simmer and then lower the heat. Set the bowl over the pan without touching the water and stir with a spatula. Remove while a few small pieces remain and stir off the heat until melted. Wipe the bottom of the bowl and do not pour any water into the chocolate. With the back of a small spoon, place two or three large strokes of white chocolate on each black poster still flexible. Spread the 10 g of raspberry powder over these white areas, and then let the plates harden for 25 to 30 minutes in a cool room; trace neither letters nor fine details.
Take off and give torn edges
Gently flip the paper and remove it under the plates so as not to pull on their corners. Breaks small fragments on some edges with your fingers, keeping three large stable plates, then keeps the chips to serve them next. Remove the paper from the sides of the cold panettone and place the brioche on its final dish.
Fix posters with reserved chocolate
Chop the 30 g of dark chocolate with a knife and put them in a perfectly dry bowl. Pour 2 cm of water into a small saucepan, heat to a gentle simmer and then lower the heat. Set the bowl over the pan without touching the water and stir with a spatula. Remove while a few small pieces remain and stir off the heat until melted. Wipe the bottom of the bowl and do not pour any water into the chocolate. Wait for this warm chocolate to thicken slightly, then place two small touches on the back of each plate. Press the plates against the sides of the panettone by resting their base on the flat; hold for a few seconds, then let it take 20 minutes. Cut the pieces between the posters and present the decorative fragments next to them.
Conservation. 3 days well packed at cool room temperature.
Namely. Recipe proposal: follow the quantities and texture marks of the card. Indicative times. The rendering depends on the ingredients and materials used. The objects of the photographic decoration remain out of the dish.
Baking tips for this recipe
- Weigh the yeast and uses the type indicated in the recipe: yeast and yeast are not interchangeable.
- Observe the increase in volume during shoots. A cool room can lengthen the times indicated.
- Respect the dimensions of the mold and the amount of dough: a brioche too tight or too full does not cook in the same way.
Substitutions and variations
Blond or brown raisins can be used at the same weight; retains the soaking step when it is planned.
To vary a zest, choose another citrus fruit washed and intended for this use, keeping the same amount. Does not automatically replace juice, whose acidity can change the preparation.
More treats for your Christmas table
Recipes that share ingredients or the same preparation family.