
THE FESTIVAL CARNET
Stained glass shortbread with sweets
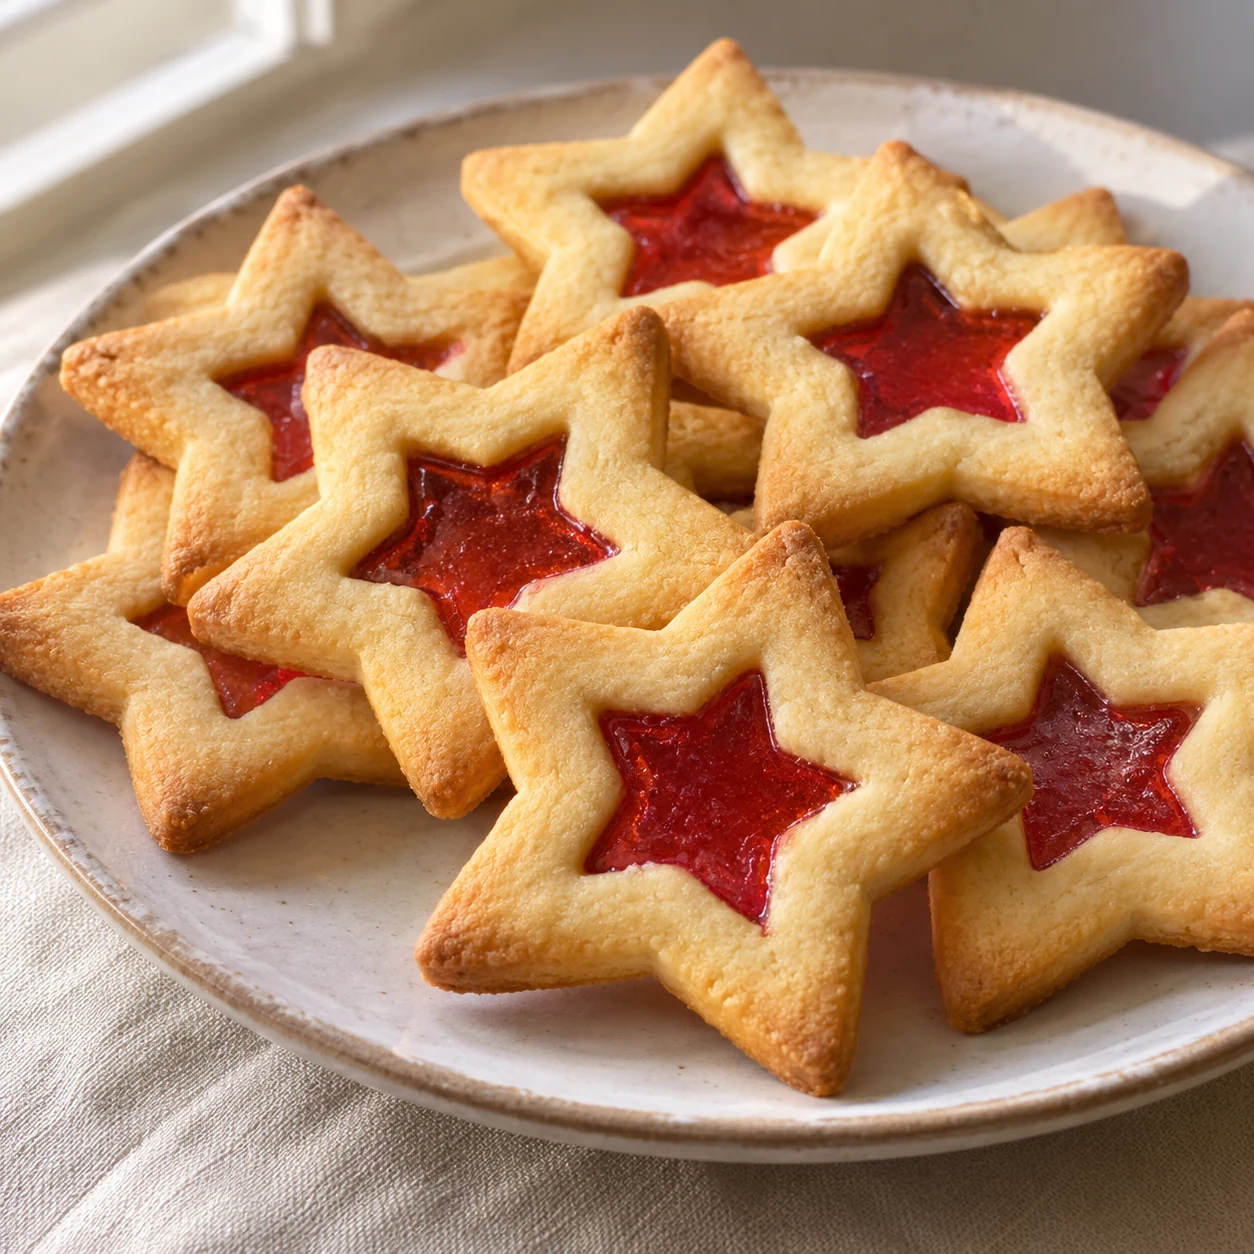
Shortbread stars whose center is filled with hard candy melted in the oven. The colored window remains thin and must cool completely before moving.
Kitchen Mode and Timer
Keep the recipe at hand during preparation.
Enables JavaScript to use the kitchen tools.
Visual Timer: Keeps this page open. It does not sound an alarm. The cooking remains to be monitored.
Shortbread stars whose center is filled with hard candy melted in the oven. The colored window remains thin and must cool completely before moving.
Prepare the ingredients before starting and leave enough room to cool the batches. The times indicated are benchmarks: the edge, underside and texture of the cookie count more than an exact minute. The recipe is proposed for the family kitchen.
That's all you need!
Equip me with a pack.If you miss something, choose your ingredients from Monoprix and your utensils on Amazon. Adjust the quantities to your guests, then uncheck what you already have.
Choose the number of guests and uncheck what you already have at home.
This sheet indicates a yield in parts or in weight. Specify your basis for calculating the races.
Your selection contains only the checked items. Check products and availability at Monoprix for ingredients, on Amazon for utensils.
Amazon Affiliate Links. As an Amazon Associate, I earn from qualifying purchases.
Your choices are memorized on this device.
The preparation step by step
Weighing and preparing
Weigh 250 g of flour, 80 g of icing sugar and 1 g of salt separately. Cut 125 g of unsalted butter into small dice. The butter should be cool but soft enough to leave a dent when pressed with a finger. Prepare a small bowl for the egg and two sheets of baking paper.
Prepare the egg
Break a medium egg in the small bowl. Remove any shell fragment, then beat it with a fork and weigh 50 g. Keep any excess for another preparation. This measured liquid brings the dry ingredients together.
Rub the butter into the dry ingredients
Combine the weighed dry ingredients and diced butter in the bowl. Rub in briefly with your fingertips until you have fine crumbs and no large pieces of butter. Avoid working the mixture in your palms for too long, as this would warm it.
Gathering without kneading
Add 50 g of beaten egg and 5 g of vanilla extract. Mix with a spatula, then press the crumbs together by hand. Stop as soon as the dough comes together evenly; it does not need to become stretchy like brioche dough.
Refrigerate the dough
Flatten the dough into two 2 cm thick discs, cover them and place them in the refrigerator for 1 hour. Leave one half in the refrigerator while you work the other; a thick ball would cool less regularly.
Regularly
Preheat the oven to 170 °C, conventional oven setting (no fan). Roll the first half between two sheets of baking paper to a thickness of 4 mm. Turn the paper between passes of the rolling pin. If the dough cracks sharply, wait 3 to 5 minutes before continuing.
Cut the biscuits
Cut 7 cm stars with a 3 cm central window; keeps at least 1 cm of cookie around. Lift the pieces with a palette knife and place on a cold lined baking tray, leaving 2 cm between them. Press the offcuts together, roll out once more and keep the smallest pieces for a separate batch.
Crush the sweets
Place the 100 g of sweets in a thick food bag and wrap it with a tea towel. Crush them with the roll until you get small grains. Avoids too fine dust and keeps grains dry.
Prepare the contours
Cook the biscuit frames for 6 minutes at 170 °C. Take out the plate and leave it lying flat. The edges should begin to take, without already being brown.
Fill the windows
Place about a teaspoon of candy beans in each window, in a layer not exceeding the thickness of the cookie. Do not leave grains around; they will melt and stick.
Melt and then cool
Bake for 4 to 6 minutes: the candy should melt and spread without browning. Remove the plate and let cool for 30 minutes without touching. Take off only when the center is stiff and cold; the hot candy burns and remains sticky.
Conservation. Consume the cookies within 48 hours, stored in a dry box at room temperature. Avoid the refrigerator, which can make the centers sticky.
Recipe proposal with quantities and step by step. Times vary depending on the material: follow also the markers of texture and cooking.
The benchmarks for success
One plate, one thickness
Group pieces of comparable size on the same plate. Keep the second baking tray cold: a paste placed on hot metal would melt before cooking.
The dough becomes sticky
Put it back in the fridge for 10 minutes instead of adding large amounts of flour. Repeat the display between two sheets of baking paper.
Questions Before You Start
Which sweets to choose?
Translucent hard candy, without liquid heart and creamy filling. Soft candy does not give the same window.
Why is the window sticky?
Humidity softens the sugar. Store the cookies in a very dry box and consume them quickly, ideally within 48 hours.
Can we work with children?
They can cut cold edges. An adult manages plaque and melted candy: hot sugar sticks to the skin and causes burns.
Baking tips for this recipe
- Work the dough just enough to combine the ingredients after adding flour; avoid prolonged kneading.
- Respect the temperature of the butter and the indicated rest. If a cutting paste becomes sticky, cool it before shaping.
- Keep a regular thickness between pieces of the same batch and monitors the edges at the end of cooking. Let cool before garnishing.
Substitutions and variations
To replace a main ingredient, choose another sheet designed with the one you want to use. Changing the proportions of fat, sugar or liquid can change the hold of the dessert.
More treats for your Christmas table
Recipes that share ingredients or the same preparation family.