
THE FESTIVAL CARNET
Stampable Christmas Butter Biscuits
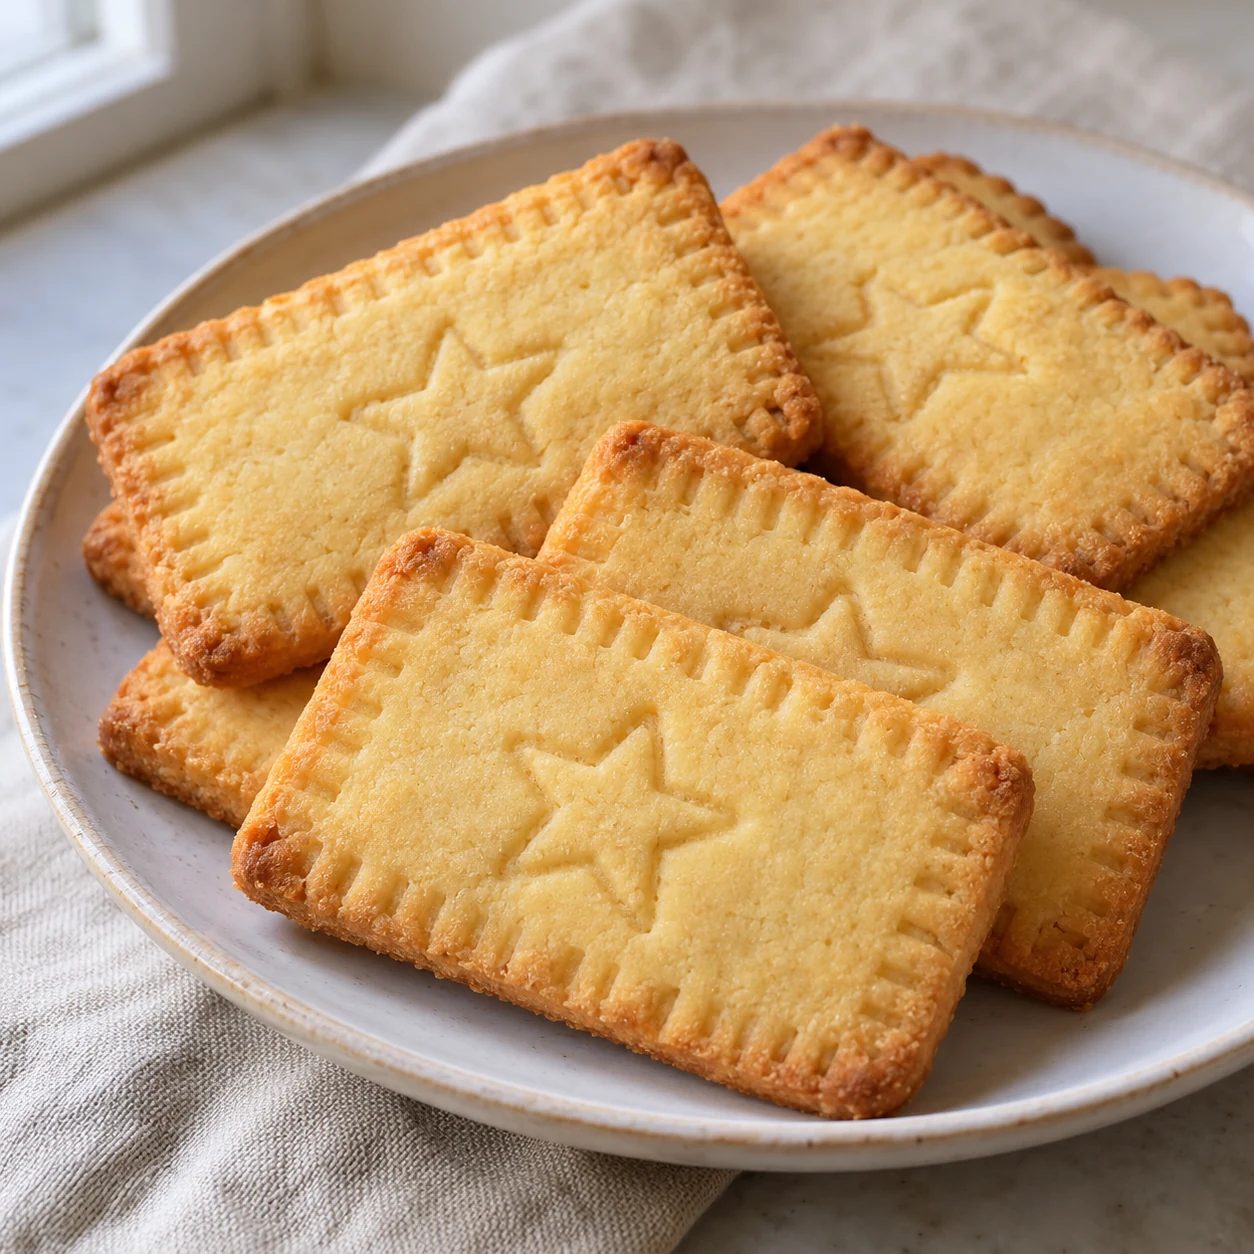
Rectangular cookies with butter, without yeast, marked with a simple pattern with food buffer. The dough cools a second time to keep its imprint.
Kitchen Mode and Timer
Keep the recipe at hand during preparation.
Enables JavaScript to use the kitchen tools.
Visual Timer: Keeps this page open. It does not sound an alarm. The cooking remains to be monitored.
Rectangular cookies with butter, without yeast, marked with a simple pattern with food buffer. The dough cools a second time to keep its imprint.
Prepare the ingredients before starting and leave enough room to cool the batches. The times indicated are benchmarks: the edge, underside and texture of the cookie count more than an exact minute. The recipe is proposed for the family kitchen.
That's all you need!
Equip me with a pack.If you miss something, choose your ingredients from Monoprix and your utensils on Amazon. Adjust the quantities to your guests, then uncheck what you already have.
Choose the number of guests and uncheck what you already have at home.
This sheet indicates a yield in parts or in weight. Specify your basis for calculating the races.
Your selection contains only the checked items. Check products and availability at Monoprix for ingredients, on Amazon for utensils.
Amazon Affiliate Links. As an Amazon Associate, I earn from qualifying purchases.
Your choices are memorized on this device.
The preparation step by step
Weighing and preparing
Weigh 250 g of flour, 80 g of icing sugar and 1 g of salt separately. Cut 125 g of unsalted butter into small dice. The butter should be cool but soft enough to leave a dent when pressed with a finger. Prepare a small bowl for the egg and two sheets of baking paper.
Prepare the egg
Break a medium egg in the small bowl. Remove any shell fragment, then beat it with a fork and weigh 50 g. Keep any excess for another preparation. This measured liquid brings the dry ingredients together.
Rub the butter into the dry ingredients
Combine the weighed dry ingredients and diced butter in the bowl. Rub in briefly with your fingertips until you have fine crumbs and no large pieces of butter. Avoid working the mixture in your palms for too long, as this would warm it.
Gathering without kneading
Add 50 g of beaten egg and 5 g of vanilla extract. Mix with a spatula, then press the crumbs together by hand. Stop as soon as the dough comes together evenly; it does not need to become stretchy like brioche dough.
Refrigerate the dough
Flatten the dough into two 2 cm thick discs, cover them and place them in the refrigerator for 1 hour. Leave one half in the refrigerator while you work the other; a thick ball would cool less regularly.
Regularly
Preheat the oven to 170 °C, conventional oven setting (no fan). Roll the first half between two sheets of baking paper to a thickness of 4 mm. Turn the paper between passes of the rolling pin. If the dough cracks sharply, wait 3 to 5 minutes before continuing.
Cut the biscuits
Cut out rectangles of 4 x 6 cm; then press a lightly floured food stamp on each, without crossing the dough. Lift the pieces with a palette knife and place on a cold lined baking tray, leaving 2 cm between them. Press the offcuts together, roll out once more and keep the smallest pieces for a separate batch.
Firming the grounds
Place the decorated baking tray in the refrigerator for 20 minutes before cooking. Keep the oven warm. This yeast-free dough swells little: a clean imprint in the refrigerator dough will be more legible after cooking.
Cook one plate at a time
Bake on the middle shelf for 10 to 12 minutes. Start checking after 8 minutes: the edges should be lightly golden and the centres paler. The cookies are still slightly soft when they come out of the oven; waiting for them to be hard in the oven would dry them out.
Cool without breaking
Rest the tray on a heatproof surface for 5 minutes, then transfer the biscuits to a wire rack. Bake the second tray meanwhile. Wait at least 20 minutes after the last batch before storing or decorating the biscuits.
Keep the relief
Let the cookies cool completely without freezing them: a thick layer would mask the imprint. Brush any trace of flour with a dry brush reserved for the kitchen.
Packs when they are dry
Store cookies in an airtight box or bag for food contact, never warm. A very short name can be printed with a letter stamp; uses regular pressure to keep the letters at the same level.
Conservation. Store completely cold cookies in an airtight box, in a cool and dry room. Consume them within 5 days. Separate the filled biscuits from those that need to stay crunchy.
Recipe proposal with quantities and step by step. Times vary depending on the material: follow also the markers of texture and cooking.
The benchmarks for success
One plate, one thickness
Group pieces of comparable size on the same plate. Keep the second baking tray cold: a paste placed on hot metal would melt before cooking.
The dough becomes sticky
Put it back in the fridge for 10 minutes instead of adding large amounts of flour. Repeat the display between two sheets of baking paper.
Questions Before You Start
Why does the motive disappear?
A hot paste deforms and a too light imprint fades. Tampon on 4 mm of cold dough and then respect the 20 minutes in the refrigerator before cooking.
Can I write a name?
Yes, with a food stamp. Choose a short name and test the pressure on a fall before marking the cookie.
Do I have to freeze the cookies?
Not for this version: the icing would hide the relief. Cookies remain natural so that the pattern remains legible.
Baking tips for this recipe
- Preheat the oven according to the plug and prepare the mold before mixing the last ingredients.
- Uses the dimensions and cooking mode indicated: a higher or wider mold changes the cooking of the center.
- Follow the visual cues of step by step in addition to the duration. Respect the intended cooling before unmoulding or decorating.
Substitutions and variations
To replace a main ingredient, choose another sheet designed with the one you want to use. Changing the proportions of fat, sugar or liquid can change the hold of the dessert.
More treats for your Christmas table
Recipes that share ingredients or the same preparation family.