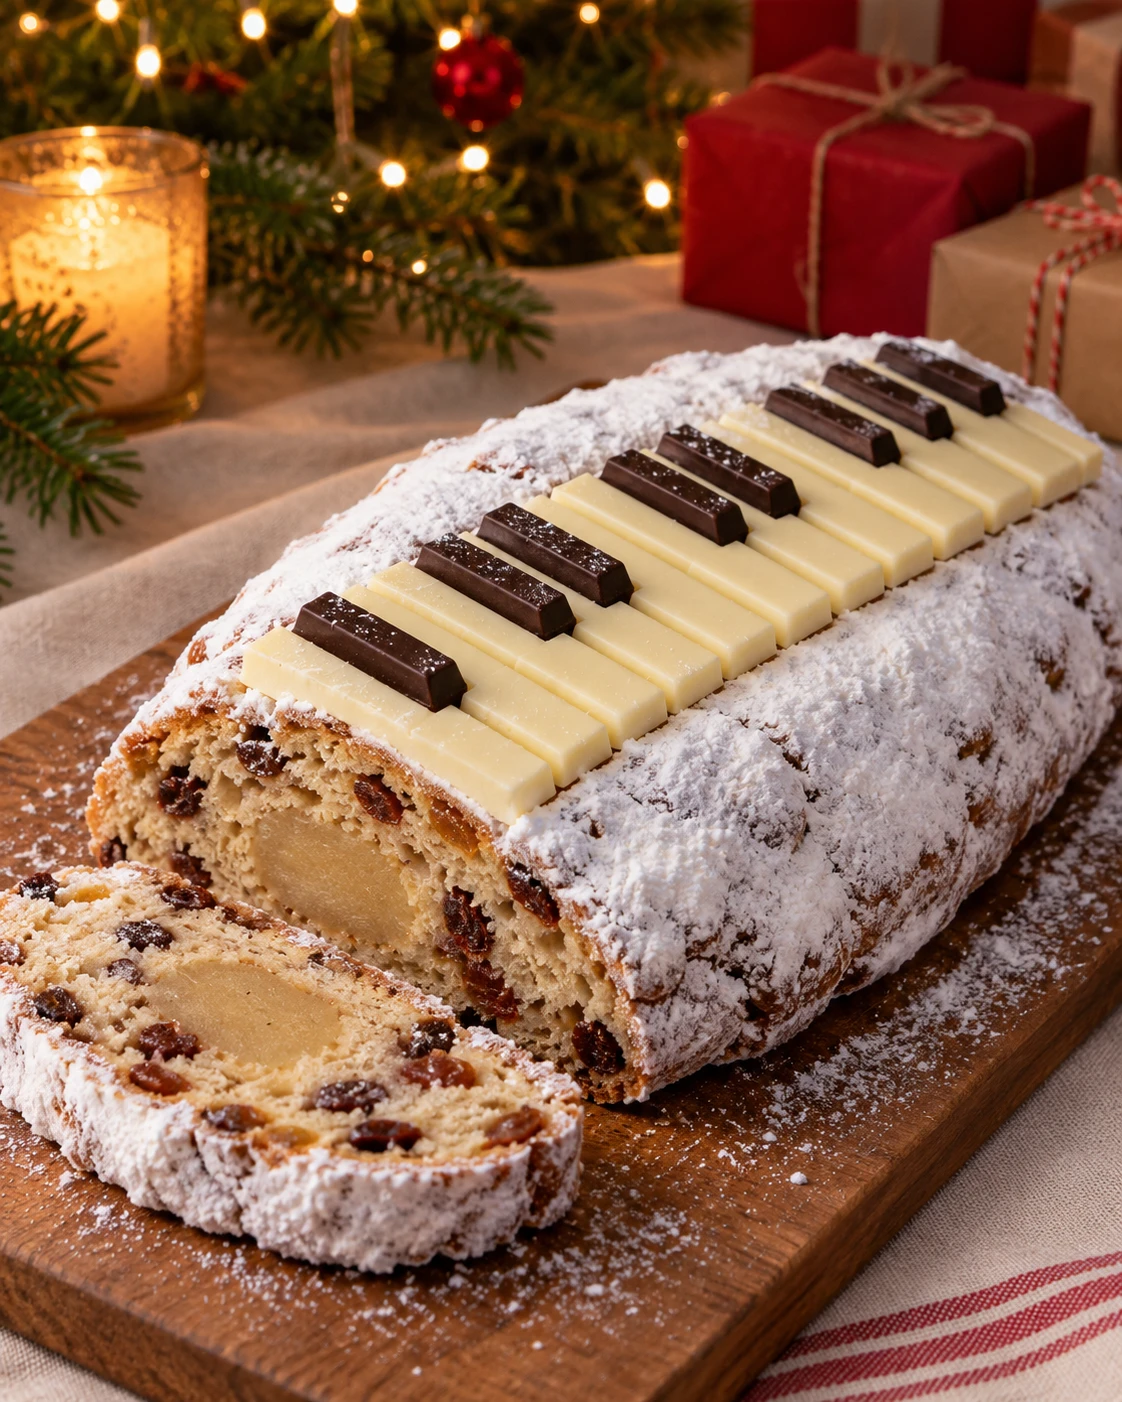
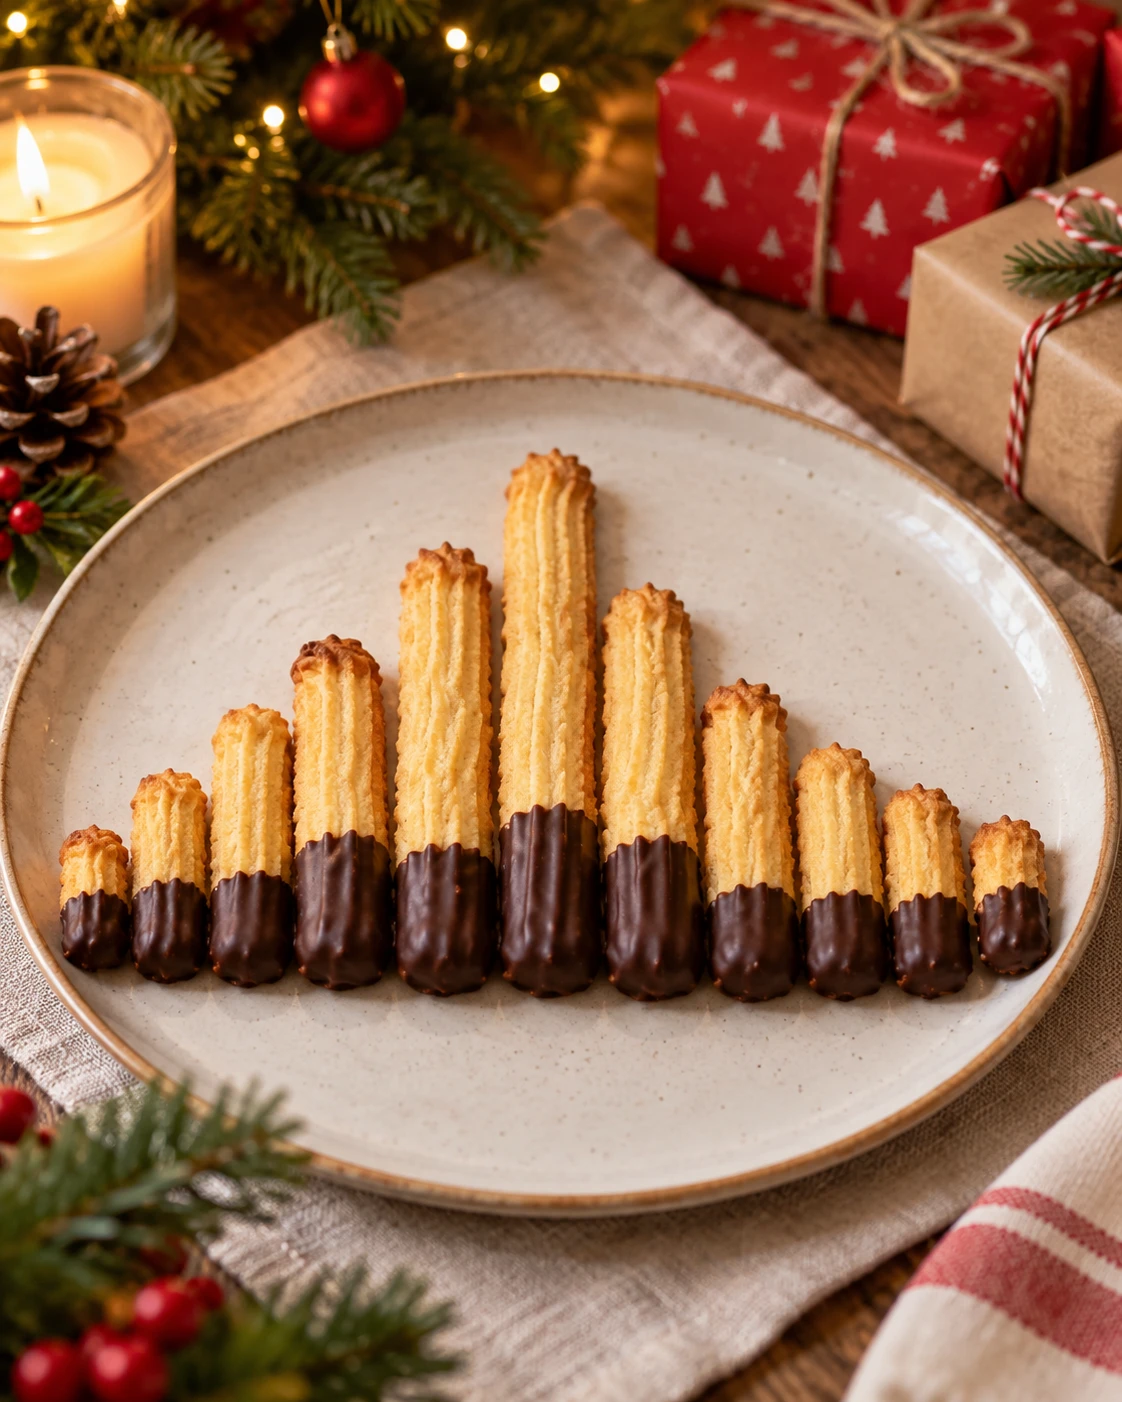
Equaliser Spritz Cookies
Butter / vanilla / chocolate
Turn up the sound, grab the bars.
Kitchen Mode and Timer
Keep the recipe at hand during preparation.
Enables JavaScript to use the kitchen tools.
Visual Timer: Keeps this page open. It does not sound an alarm. The cooking remains to be monitored.
That's all you need!
Equip me with a pack.If you miss something, choose your ingredients from Monoprix and your utensils on Amazon. Adjust the quantities to your guests, then uncheck what you already have.
Choose the number of guests and uncheck what you already have at home.
This sheet indicates a yield in parts or in weight. Specify your basis for calculating the races.
Your selection contains only the checked items. Check products and availability at Monoprix for ingredients, on Amazon for utensils.
Amazon Affiliate Links. As an Amazon Associate, I earn from qualifying purchases.
Your choices are memorized on this device.
It's up to you.
12 detailed steps, from preparation to service.
Soften the 200 g butter
Take out the 200 g of butter in advance and cut them into small cubes in a bowl. Wait for them to crush easily under a spoon, without being melted or oily; it takes about 1 hour depending on the room. Prepare two baking tray covered with baking paper, a solid piping bag and a 12 mm fluted sleeve. Weigh 80 g of icing sugar and 230 g of flour separately.
Prepare the egg white
Separate the white and the yolk from an egg over a small bowl, avoiding dropping the shell. Weigh 30 g of white for this recipe and keeps the yolk in the refrigerator for another use; only the white enters the dough. Add the vanilla teaspoon and the pinch of salt to the white, then stir for 10 seconds with the fork, without turning it into snow.
Working butter in cream
Whisk the butter very soft for 1 to 2 minutes, by hand or with a beater at low speed. Add the 80 g of icing sugar in two, mixing gently first so as not to disperse the powder. Scrape the walls with a spatula; the mixture should be supple, creamy and uniform, with small visible traces of whipping.
Add white and then flour
Pour the vanilla white into the sweet butter and gently whip for 30 seconds to distribute it. Then add the 230 g of flour in two and mix with the spatula, scraping the bottom after each addition. Stop as soon as there is no more dry flour: too worked dough becomes less tender. It must remain flexible while keeping the groove left by the spatula.
Fill the piping bag without overloading it
Install the star piping tip in the piping bag, fold the edge of it over a large glass and fill it half-paste. Bring the dough back to the piping tip and twist the top to prevent leaks. Try it on the paper: the dough should come out in a regular striated ribbon. If it resists, wait 5 to 10 minutes at room temperature and gently knead the pouch, without adding milk or water.
Preheat before Pipe
Set the oven to 170 °C in conventional oven setting (no fan) and place the oven rack at mid-height. Keep the baking tray at room temperature: A hot baking tray will melt the butter before cooking. Hold the sleeve about 1 cm from the paper, almost vertical; pushes with the hand placed at the top of the piping bag and guides with the other hand, without crushing the grooves against the plate.
Pipe three sizes of sticks
Trace eight sticks of 4 cm, eight of 6 cm and eight of 8 cm, all of the width of the piping tip. Maintain constant pressure during the route, then stop pressing before lifting the piping bag to finish clean. Leave 3 cm between cookies and groups the sizes on the plates to easily remove the smaller ones. Divide the remaining dough into small cookies to cook separately, without lengthening the 24 sticks provided.
Cook by monitoring small formats
Bake one baking tray at a time at 170 °C and start monitoring after 10 minutes. The sticks are ready when their edges are slightly golden, usually between 10 and 14 minutes; remove the small ones before the large ones if necessary, with a spatula. Leave the second baking tray cool during this cooking if the dough spreads. The streaks should remain visible, without looking for a dark coloration.
Let the cookies become solid
At the exit of the oven, wait 5 minutes before lifting the cookies. Then transfer them one by one to a rack with a wide spatula and let them cool for about 30 minutes. Take a stick only when it is cold down: hot, it breaks easily and melts the finishing chocolate too quickly. Prepare a new sheet of baking paper for coating.
Dip only the bottom third
Chop 100 g of dark chocolate and put them in a small, perfectly dry bowl. Set the bowl over a saucepan containing a little hot water, keeping the bowl clear of the water. Melt over a very low heat, stirring. Remove the bowl when the chocolate has almost melted and stir off the heat until smooth. Wipe the bottom of the bowl; no drop of water should fall into the chocolate. Pour the chocolate into a small container narrow enough to soak one end of each cold cookie for about a third of its length. Let drain for 2 seconds, gently wipe the underside on the edge of the bowl and place the cookie on the paper, without pressing the streaks.
Let the chocolate freeze
Wait 30 to 45 minutes in a cool room, until the chocolate ends peel off the paper and no longer stick to the touch. If the chocolate in the bowl thickens during labor, heat it very briefly in the bain-marie without adding liquid. Use leftovers for cookies or make small pallets on paper; do not cover the sticks further.
Allow to be taken and served
On the serving dish, align the chocolate ends on the same line. Make the heights vary by alternating small, medium, large, then medium and small, to evoke the bars of an equalizer. The biscuits remain all lying down; their streaks and clear part must appear. Store the others flat in a box, with paper between the layers.
Conservation. 5 days in hermetic box in the cool and dry.
Namely. Recipe proposal: follow the quantities and texture marks of the card. Indicative times. The rendering depends on the ingredients and materials used. The objects of the photographic decoration remain out of the dish.
Baking tips for this recipe
- Work the dough just enough to combine the ingredients after adding flour; avoid prolonged kneading.
- Respect the temperature of the butter and the indicated rest. If a cutting paste becomes sticky, cool it before shaping.
- Keep a regular thickness between pieces of the same batch and monitors the edges at the end of cooking. Let cool before garnishing.
Substitutions and variations
To replace a main ingredient, choose another sheet designed with the one you want to use. Changing the proportions of fat, sugar or liquid can change the hold of the dessert.
Keep the type of chocolate provided for the structure or ganache. Switching from dark chocolate to white chocolate changes the balance: the quantities do not transpose directly.
More treats for your Christmas table
Recipes that share ingredients or the same preparation family.