
THE FESTIVAL CARNET
Christmas Chocolate Mouldings
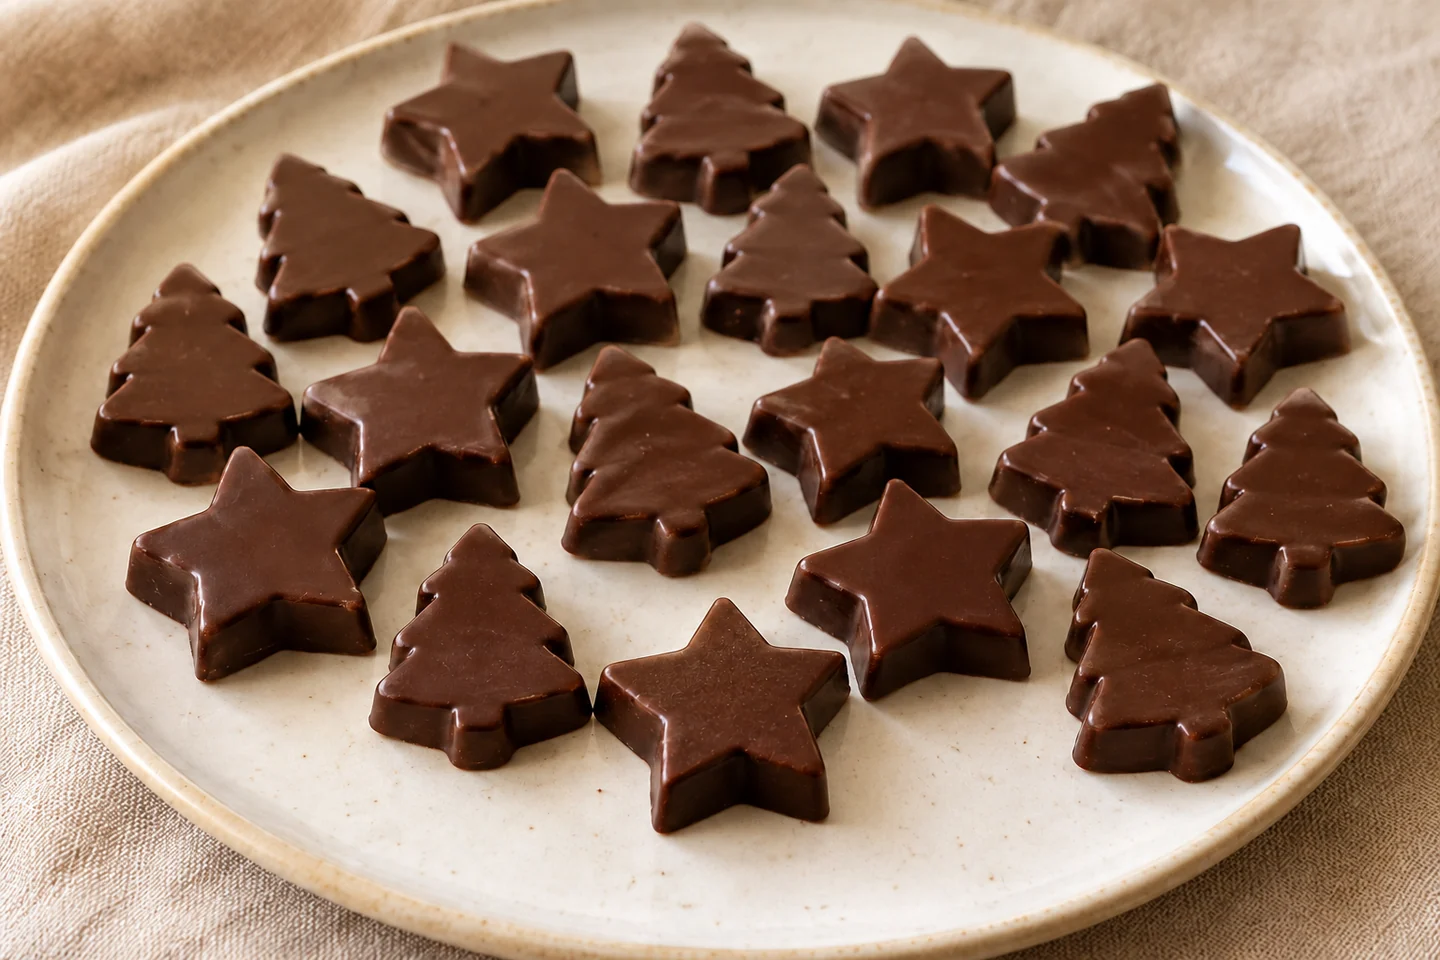
Prepare stars and fir trees full of dark chocolate: tempering explained, filling the molds, cooling and demoulding, step by step.
Kitchen Mode and Timer
Keep the recipe at hand during preparation.
Enables JavaScript to use the kitchen tools.
Visual Timer: Keeps this page open. It does not sound an alarm. The cooking remains to be monitored.
Prepare small chocolates full with a single ingredient and simple footprints. Choose thick stars or small rounded fir trees: their short tips are more resistant to demoulding. With 300 g of cover, plan about twenty pieces of 15 g, depending on the volume of the mold.
Tempering helps chocolate become firm, brittle and shiny. Use a thermometer and follow three successive temperatures. The curve below concerns the black cover; gives priority to the indications of its manufacturer. White chocolate and milk chocolate require other temperatures.
That's all you need!
Equip me with a pack.If you miss something, choose your ingredients from Monoprix and your utensils on Amazon. Adjust the quantities to your guests, then uncheck what you already have.
Choose the number of guests and uncheck what you already have at home.
This sheet indicates a yield in parts or in weight. Specify your basis for calculating the races.
Your selection contains only the checked items. Check products and availability at Monoprix for ingredients, on Amazon for utensils.
Amazon Affiliate Links. As an Amazon Associate, I earn from qualifying purchases.
Your choices are memorized on this device.
The preparation step by step
Prepare the mold and worktop
Place the mold on a rigid plate. Check each cavity: it must be dry, without crumb or greasy trace. Polycarbonate facilitates mold release; food silicone is also suitable, sometimes with less shine. Provide a cool location for taking.
Weigh and chop the cover
Weigh 300 g of chocolate. Cut the tablet into pieces of about 1 cm, or use the whole pistoles. Pour everything into a dry bowl. Does not add butter, cream or water: the casts are made of pure chocolate.
Melt at the first temperature
Simmer 2 cm of water in a saucepan, then lower the heat. Place the bowl on top, without contact with water. Stir and measure the temperature without touching the bowl with the probe. Reaches 50-55 °C, or the melting temperature indicated on the package.
Cool by mixing regularly
Remove the bowl and wipe the underside. Put it in a bowl of fresh water, without wetting the chocolate. Stir by scraping the bottom and walls. Remove and replace the bowl if necessary to gradually go down to 28-29 °C. The mass thickens slightly.
Back to the working temperature
Place the bowl on the warm bain-marie for a few seconds. Remove it, stir and measure. Repeat with short strokes to reach 31-32 °C. Does not exceed the manufacturer’s limit: the lift is quick. The chocolate must remain homogeneous, without solid pieces.
Check the socket before molding
Spread a fine trace on baking paper. In a cool room, it must harden in a few minutes. If it stays sticky after five minutes, control the temperatures and start the curve again. During the test, stir the chocolate and maintain its working temperature.
Filling small, full shapes
Fully fill the cavities: you make full chocolates, without hollow shell. Counts about 15 g per imprint adapted. Tap the plate on the worktop to release the bubbles. Scrape the top with a spatula to separate the footprints and flatten the backs.
Let it crystallize in the cool
Place the plate flat in a dry and cool place, ideally around 16-18 °C. Allow about two hours for the small chocolates to become firm at heart; the time varies according to the mold and the piece. Avoids the freezer and abrupt temperature changes. If the chocolate remains supple, prolong the intake instead of forcing.
Unmold without pulling on the tips
When the pieces are fully firm, flip the mold over a sheet of baking paper. For a rigid mold, tap gently; for silicone, spread the edges and then push each imprint from underneath. Hold the chocolates from the sides. A piece still glued must rest more: do not use the tip of a knife to pull it out.
Store parts and reuse surplus
Packs dry and firm chocolates when at room temperature, without condensation. Pour the clean surplus onto baking paper. Once hardened, keep it for a next tempering or other recipe. Avoid handling the parts with your hands for a long time.
Conservation. Keep chocolates in an airtight box, dry, away from light and odors, ideally at 16-18 °C. Taste them within two weeks, respecting the date of the chocolate. Avoids humid refrigerator and temperature deviations.
Recipe proposal with quantities and step by step. Times vary depending on the material: follow also the markers of texture and cooking.
The benchmarks for success
Favoring robust shapes
Choose footprints of 3 to 4 cm, without fine branches. Their volume determines the number of chocolates.
Monitor the chocolate during filling
If the chocolate thickens, warm it briefly in its working range. If it exceeds it clearly, start tempering again. Do not add any liquid.
Questions Before You Start
Can I take a regular pastry tablet?
A cocoa butter tablet may work, but a molding cover is more fluid. Follow the manufacturer's tempering curve.
Why do my chocolates whiten?
Tempering or temperature deviations can leave traces. This visual defect is not enough to judge conservation. A clean and well-preserved chocolate can be redone and tempered.
Can I apply the same temperatures to white chocolate?
Nope. White chocolate and milk chocolate have their own curves. Uses a specific recipe and manufacturer's instructions instead of transposing the black temperatures.
Baking tips for this recipe
- Preheat the oven according to the plug and prepare the mold before mixing the last ingredients.
- Uses the dimensions and cooking mode indicated: a higher or wider mold changes the cooking of the center.
- Follow the visual cues of step by step in addition to the duration. Respect the intended cooling before unmoulding or decorating.
Substitutions and variations
To replace a main ingredient, choose another sheet designed with the one you want to use. Changing the proportions of fat, sugar or liquid can change the hold of the dessert.
Keep the type of chocolate provided for the structure or ganache. Switching from dark chocolate to white chocolate changes the balance: the quantities do not transpose directly.
More treats for your Christmas table
Recipes that share ingredients or the same preparation family.