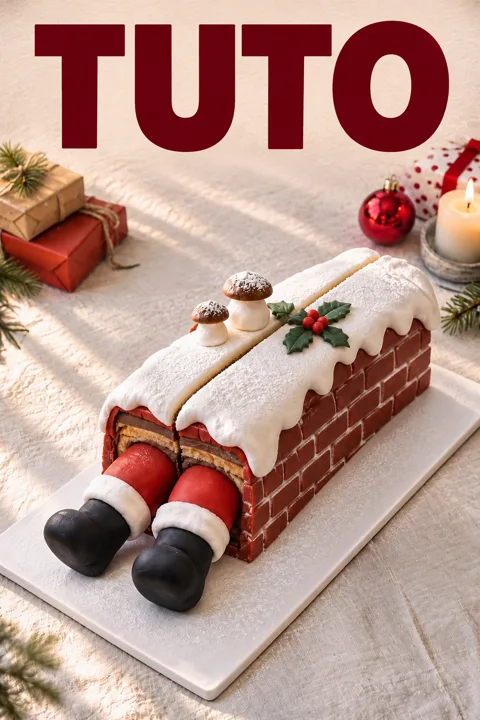
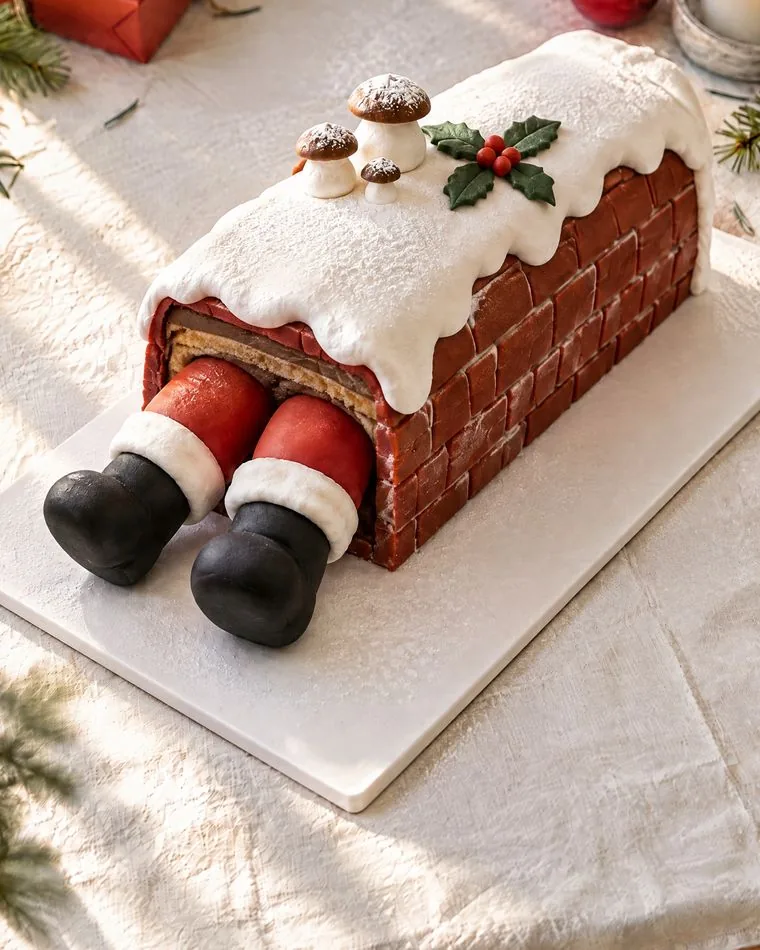
Read the recipe and weigh the ingredients
Make room in the refrigerator for the serving plate. Weigh each group of ingredients separately: keep the decoration chocolate separate from the chocolate for the ganache. Cut a sheet of baking paper to the dimensions of the baking tray, with a small edge. Prepare a second sheet of baking paper for turning out the sponge. Cooling stages can overlap; never fill a warm sponge with cream.
Prepare the ganache first
Chop the 300 g of dark chocolate and put them in a dry bowl. Pour the 300 g of cream into a saucepan and heat until the first small bubbles around the edge. Remove from the heat. Pour a third of the cream over the chocolate, wait 30 seconds and then stir with a spatula in small circles in the center. Add the second third and then the last in the same way. The mixture should become smooth and glossy, with no lumps. Do not whisk it.
Let the ganache become spreadable
Pour the ganache into a large container, press cling film directly onto the surface and let cool for about 20 minutes. Then place it in the refrigerator for 30 to 60 minutes, stirring every 10 to 15 minutes. It should hold on the spatula but spread easily without tearing the sponge. If it is runny, chill it longer; if it becomes too firm, leave it at room temperature for a few minutes. Times vary depending on the chocolate.
Preheat the oven and crack the four eggs
Preheat the oven to 180 °C, conventional setting (no fan). Position the oven rack in the middle. Break the 4 eggs one by one in a small bowl to easily remove any shell, then pour them into the large bowl. Add 100 g of sugar and a pinch of salt. It is not necessary to separate the whites from the yolks.
Whisk to the ribbon stage
Beat the eggs and sugar with an electric mixer for 7 to 10 minutes. The mixture should become pale and increase significantly in volume. When you lift the beaters, the falling batter should leave a visible trail on the surface for a few seconds: this is the ribbon stage. If it disappears immediately, whisk for another minute before checking again.
Fold in the dry ingredients without deflating the mixture
Sift the 100 g flour over the bowl in three additions. After each addition, slide the spatula down to the bottom, lift the batter over the top and turn the bowl slightly. Do not use the whisk again. Stop as soon as no pockets of flour remain, checking the bottom of the bowl too. Immediately spread the batter evenly over the entire 30 x 40 cm tray, including the corners.
Bake until set but still flexible
Bake for 10 to 12 minutes. Check after 10 minutes: the surface should be set and spring back slightly when touched, with no wet batter. An overbaked sponge will crack when rolled. Use oven gloves to remove the tray. Rest for a minute, then turn the sponge out onto the second sheet of baking paper. Gently peel off the original baking paper, pulling it back almost flat.
Cool and then cut three rectangles
Let the cookie cool well flat for 25 to 30 minutes. With a clean ruler, mark three strips of 30 x 10 cm, then cut them with a bread knife without crushing them. The remaining strip is used for tasting drops; do not overlay it on the cake. Mounting is deliberately low and stable.
Assemble the three layers and chill
Place a first strip of 30 x 10 cm on the plate and spread 120 g of ganache without going quite to the edges. Lay the second, spread another 120 g, then add the third, face the most even upwards. Press gently with the palm flat. Reserve 300 g of ganache for coating and about 60 g to stick the decorations. Cool the assembly for 45 minutes before trimming or covering it.
Wrap and prepare the brick cover
Cover the cold block with the reserved 300 g of ganache and smoothes the top and sides. Cool for 15 to 20 minutes. Spread the 350 g of brick red paste over 2 to 3 mm, with a little of 10 g of icing sugar if necessary. Cut a rectangle wide enough to cover the top and two long sides, then two pieces for the ends. Measure the cake before cutting.
Cover and draw the bricks
Place the rectangles on the ganache, smooth with the palm and cut the outboards at the level of the flat. With a clean ruler and the back of the knife, marks horizontal lines spaced about 1 cm apart. Add vertical lines every 2 cm by shifting them from one row to the other. Press enough to print a hollow, without cutting to the cookie.
Preparing and spreading snow in royal icing
Mix 30 g of pasteurized egg white with 150 g of sieved icing sugar, then gradually add the 5 g of lemon juice. Work 2 to 3 minutes at low speed: the icing should be white, thick and fit on the spatula. Spread it on top of the cold log, then push small waves to the edges to get the snow fallout shown in video. Keep the brick sides visible. Let the surface firm up before laying the decorations.
Shape two legs laid on the flat
Keep 5 g of bright red for the holly. Divide the remaining 95 g into two small 4 to 5 cm thick puddings. Model two boots with the 50 g of black, flatten their undersides and stick them to the ends of the legs with a trace of ganache. With 20 g of white, forms two stripes for lapels. Lay your legs on the flat, against one end of the log: no spike or suspended leg is necessary.
Add mushrooms and holly
With the remaining 40 g of white, form three small stocky feet and three rounded hats, keeping the biggest pieces for the hats. Slightly powder these with a portion of 5 g of cocoa. Assemble each mushroom with a hint of ganache. Flatten the 20 g of green, cut three small leaves and mark a single central line on the back of the knife. Roll three or four bays with the reserved 5 g of red.
Set the decors and refresh
Place the mushrooms and holly flat on the snow with very small ganache dots. Use a pinch of remaining icing sugar if you want a powdery effect, protecting the black boots. Place in the refrigerator for 30 minutes. At the service, share the decorations apart and cut regular slices through the layers of biscuit.
Storage and serving
Keep the log in a box in the refrigerator and consume it within 48 hours. Take it out for about 15 minutes before serving. Lay fragile decorations at the last moment; do not leave the cream for several hours at room temperature.
Recipe proposal with quantities and step by step. The times are indicative. The video and images illustrate a creation; hand-crafted sets can be simpler.

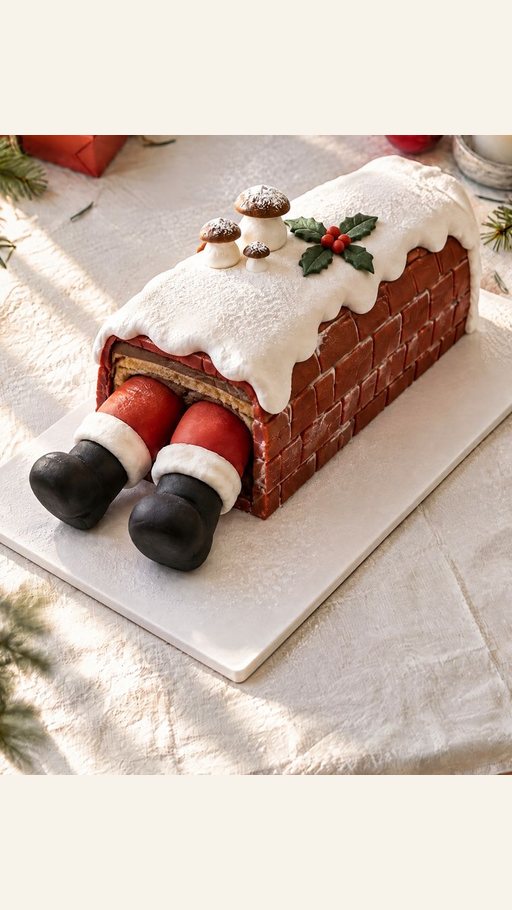 01 / The Creation