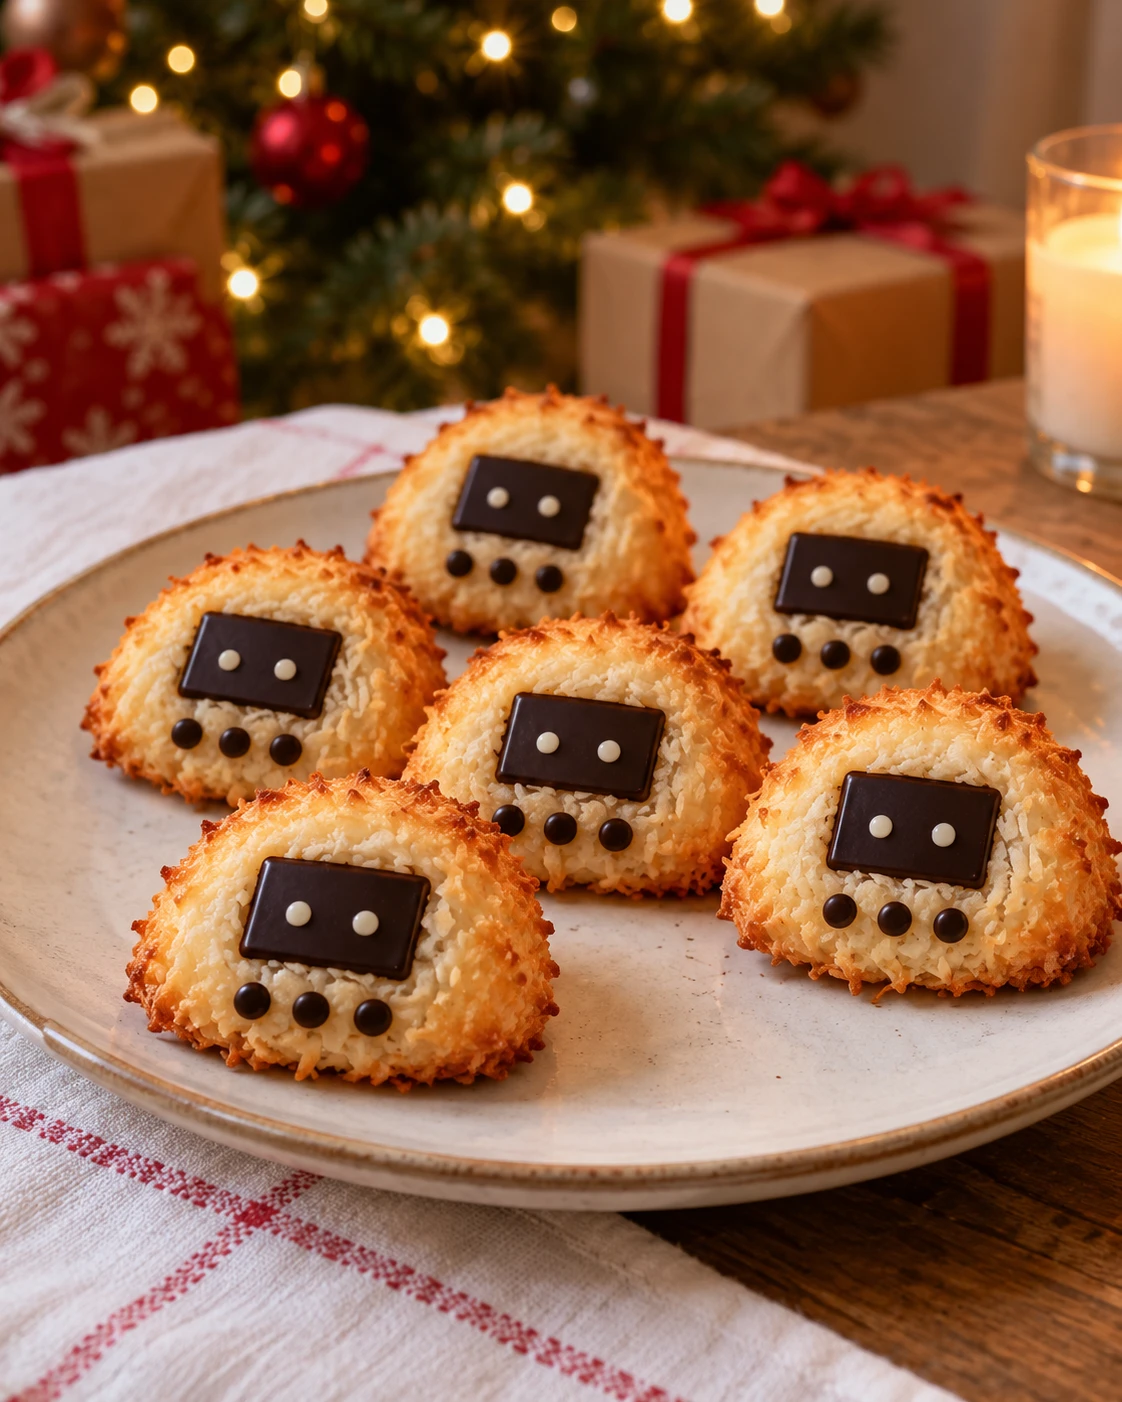
Virtual Pet Coconut Macaroons
Coco / dark chocolate
Don’t forget to feed your snack.
Kitchen Mode and Timer
Keep the recipe at hand during preparation.
Enables JavaScript to use the kitchen tools.
Visual Timer: Keeps this page open. It does not sound an alarm. The cooking remains to be monitored.
That's all you need!
Equip me with a pack.If you miss something, choose your ingredients from Monoprix and your utensils on Amazon. Adjust the quantities to your guests, then uncheck what you already have.
Choose the number of guests and uncheck what you already have at home.
This sheet indicates a yield in parts or in weight. Specify your basis for calculating the races.
Your selection contains only the checked items. Check products and availability at Monoprix for ingredients, on Amazon for utensils.
Amazon Affiliate Links. As an Amazon Associate, I earn from qualifying purchases.
Your choices are memorized on this device.
It's up to you.
13 detailed steps, from preparation to service.
Preheat and organize the plate
Preheat the oven to 175 °C in conventional oven setting (no fan) and places the oven rack at mid-height. Cover a large flat baking sheet. Prepare a bowl, a scale, a spatula, two small spoons and a small bowl of water to moisten your fingers; the water is only used for shaping and should not be poured into the dough.
Separating and Weighing Whites
Take 3 eggs. Break them one by one over a small bowl and separate the white from the yolk by passing the yolk between the two half-shells; pour each clean white into a second bowl. No piece of yolk should remain in the whites. Weigh 90 g of whites for this recipe and keeps the yolks in the refrigerator for another preparation. Pour these whites into the bowl. Keep all the chocolates and elements of the decor apart: they are not mixed with coconut, and the chocolate will be placed only on the cooled coconut clusters.
Mix sugar and vanilla with whites
Weigh the 120 g of sugar and pour it on the 90 g of whites. Add the vanilla teaspoon and stir for 30 to 45 seconds with a fork or spatula. You have to mix the ingredients, not turn the whites into snow: you have to keep a thick liquid, a little sparkling at the edge but without large air volume.
Add the coconut and wait
Pour the 200 g of grated coconut in two and mix with the spatula scraping the bottom. Check that all the coconut is moistened and that there is no liquid white left at the bottom of the bowl. Let it sit for 5 minutes so that the coconut absorbs the mixture; the preparation should be held when pressed between the fingers.
Divide into twenty regular portions
With two small spoons, place 20 heaps on the baking paper, about 20 g each. Spread what remains in the bowl between these piles to avoid clusters of very different sizes. Leave at least 3 cm between them. If it lacks space on the baking tray, use a second baking tray and cook the two batches successively.
Form ovals four centimeters low
Quickly dip your fingers in the bowl of water and shake them: they must be wet, not dripping. Press each pile to chase large spaces and give it an oval shape of about 4 cm, with a flat base and a domed top. Keep the irregularities of the coconut visible and does not look for a smooth surface of fondant.
Prepare the silhouette before cooking
Round one end of each oval and thin the other very slightly to evoke a small egg. Gently flatten the front side with the back of a spoon to have an area where to place the chocolate screen. Do not dig a hole and do not add a ring: each clusters must rest largely on its base.
Cook without drying the sides
Bake for 12 to 15 minutes. Begins to control at 12 minutes: the bottom and the highest reliefs should be golden, while the sides remain clear. Do not extend until you get a uniform brown color, which would give too dry clusters. Remove the plate with oven gloves and place it on a heat-resistant surface.
Cooling in two steps
Wait 10 minutes on the plate before touching the clusters. Then slide a spatula under their base and place them on a wire rack, without catching them by the ears or the top. Let them cool for at least 30-40 minutes; they should be cold in the center before chocolate. This wait also allows the base to firm up without breaking.
Trace black screens
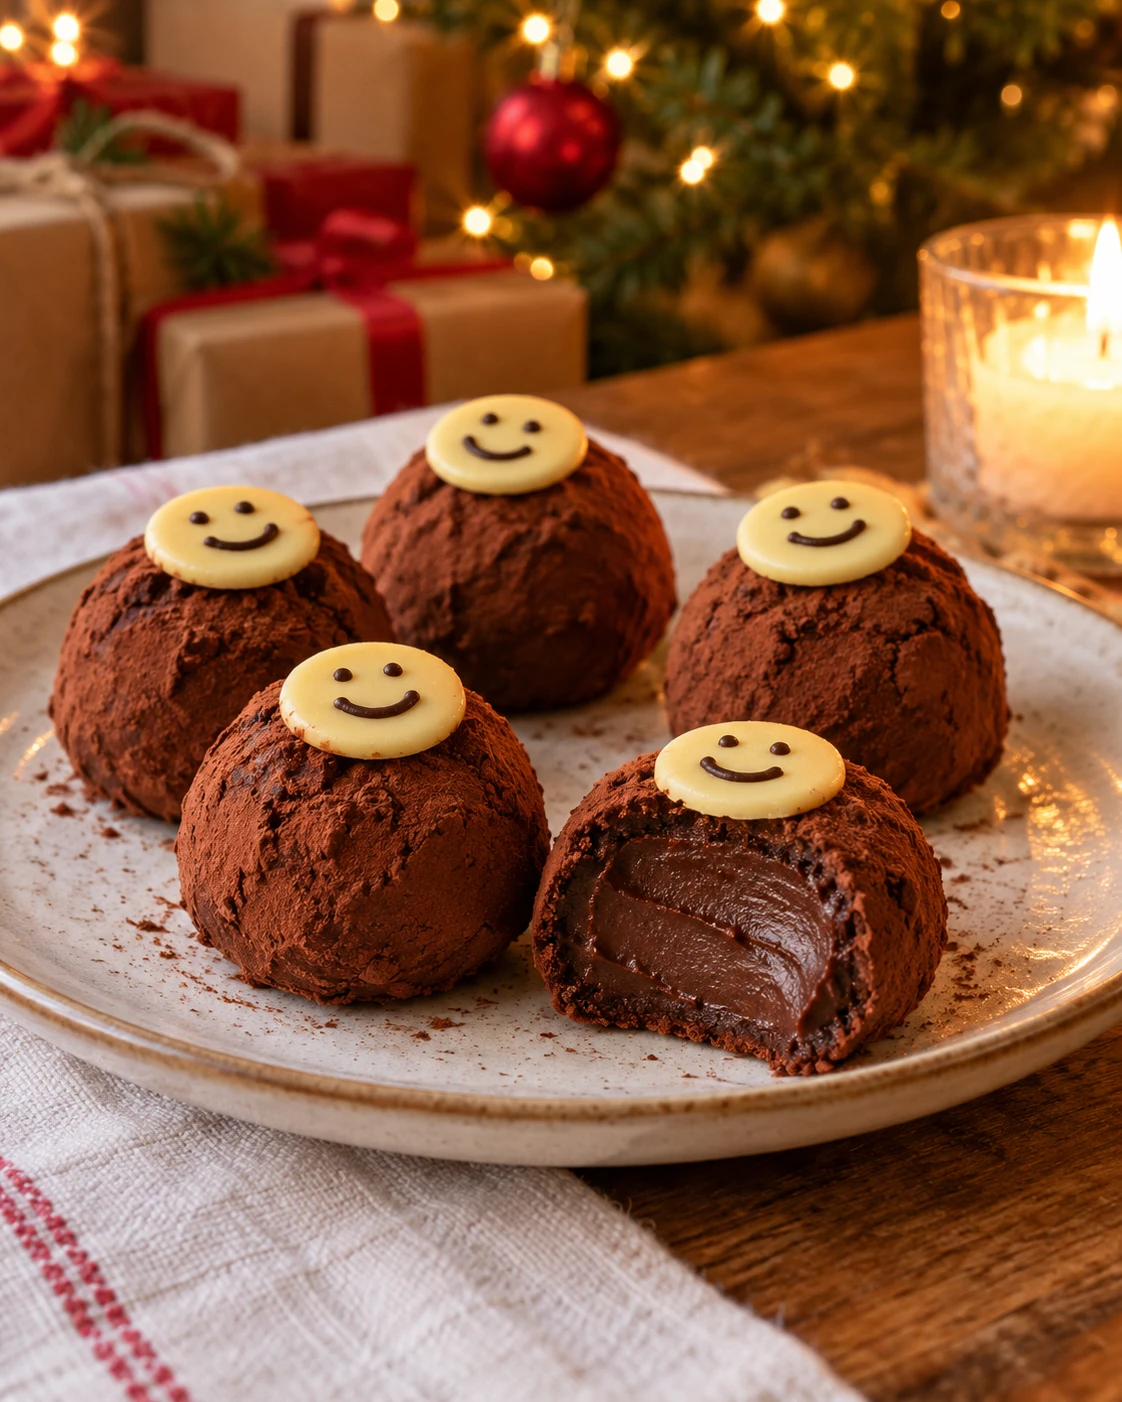
Chop 80 g of dark chocolate with a knife and put it in a small, perfectly dry bowl. Place the bowl on a saucepan containing 2 cm of barely simmering water, without the bottom of the bowl touching the water. Stir gently with the spatula and remove the bowl as soon as the pieces are almost melted; continue to stir off the heat. Wipe the bottom of the bowl before moving it: no drop of water should enter the chocolate. Reserve about 20 g of this chocolate for pimples in a small dry bowl. With the remaining 60 g and the tip of a small spoon, spread on the front face of each cold clusters a black rectangle about 1.5 cm side. Press gently to fill the coconut pits without crushing the cake, then let it take 20 minutes.
Put the three buttons under the screen
Briefly put the 20 g of dark chocolate reserved on the warm bath if they have hardened, then pour them into a small cone. Under each screen, place three large dots horizontally aligned and separated by a few millimeters. Stop the pressure before raising the tip so as not to form peaks. No button should protrude from the base of the clusters.
Draw the two white pixels
Chop 20 g of white chocolate with a knife and put it in a small, perfectly dry bowl. Place the bowl on a saucepan containing 2 cm of barely simmering water, without the bottom of the bowl touching the water. Stir gently with the spatula and remove the bowl as soon as the pieces are almost melted; continue to stir off the heat. Wipe the bottom of the bowl before moving it: no drop of water should enter the chocolate. With a very little open cornet or the tip of a small spoon, place two white dots on each black screen that has become firm. Leave a margin of black around and keeps the dots simple, without sculpted face. Let the twenty clusters take 30 minutes flat, until the dots and buttons are dry to the light touch.
Keep without stacking faces
Store small virtual animals on their base in a box, preferably in a single layer to protect screens. If there is still dark or white chocolate, spread it in small pellets on paper to harden it and keep it for another use. Do not add a ring of key rings or a shell: the coconut oval remains the whole structure of the dessert.
Conservation. 4 days in airtight box in the cool and dry.
Namely. Recipe proposal: follow the quantities and texture marks of the card. Indicative times. The rendering depends on the ingredients and materials used. The objects of the photographic decoration remain out of the dish.
Baking tips for this recipe
- Preheat the oven according to the plug and prepare the mold before mixing the last ingredients.
- Uses the dimensions and cooking mode indicated: a higher or wider mold changes the cooking of the center.
- Follow the visual cues of step by step in addition to the duration. Respect the intended cooling before unmoulding or decorating.
Substitutions and variations
To replace a main ingredient, choose another sheet designed with the one you want to use. Changing the proportions of fat, sugar or liquid can change the hold of the dessert.
Keep the type of chocolate provided for the structure or ganache. Switching from dark chocolate to white chocolate changes the balance: the quantities do not transpose directly.
More treats for your Christmas table
Recipes that share ingredients or the same preparation family.